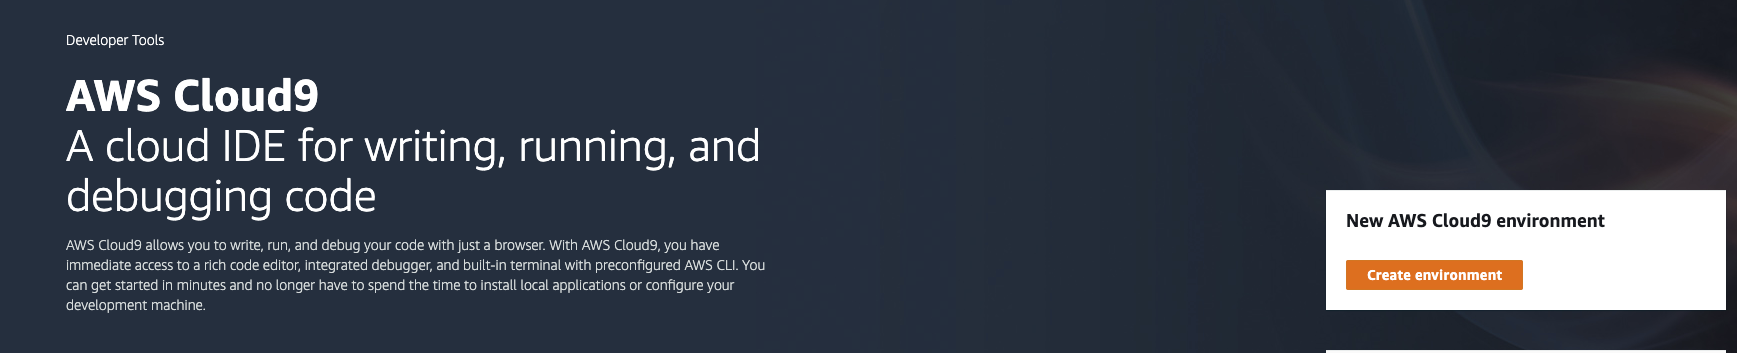
AWS Cloud9
A list of supported browsers for AWS Cloud9 is found here.
- Log into your AWS Account
Everything defaults to us-west-2 in this Workshop
-
Launch Cloud9 in us-west-2
Create a Cloud9 Environment: https://us-west-2.console.aws.amazon.com/cloud9/home?region=us-west-2
You’ll be prompted to log into your AWS Account in order to provision a Cloud9 Workspace
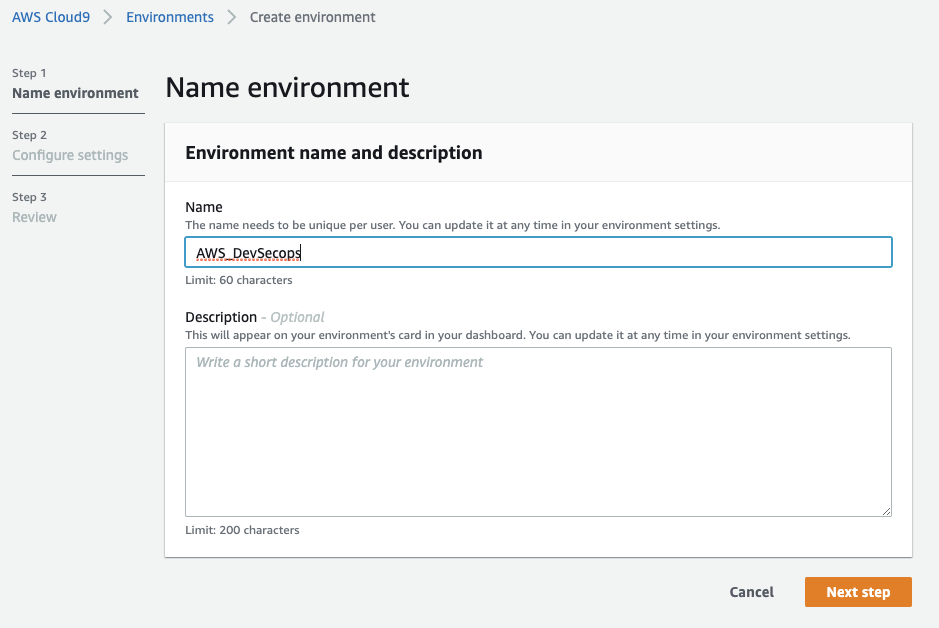
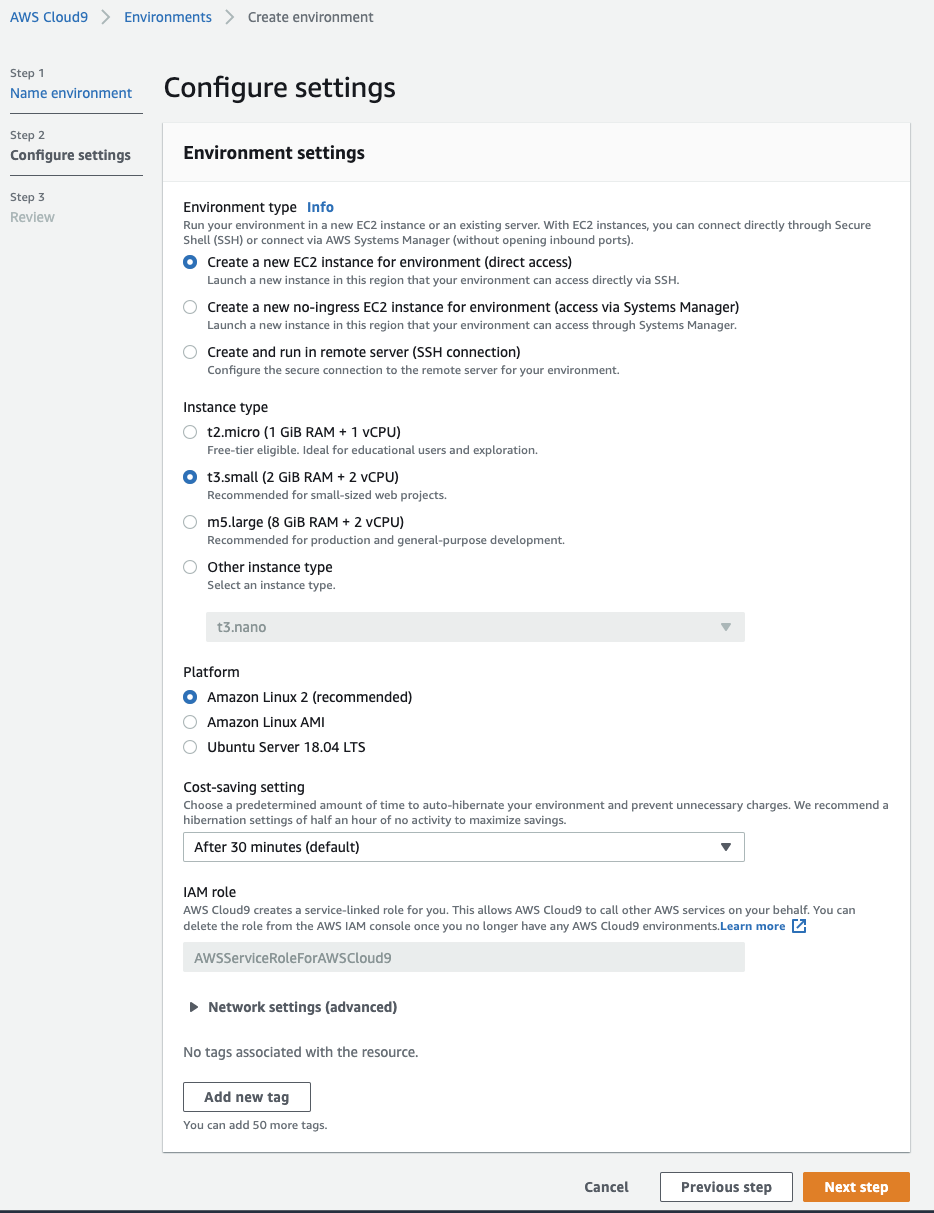
- Configure the Cloud9 instance
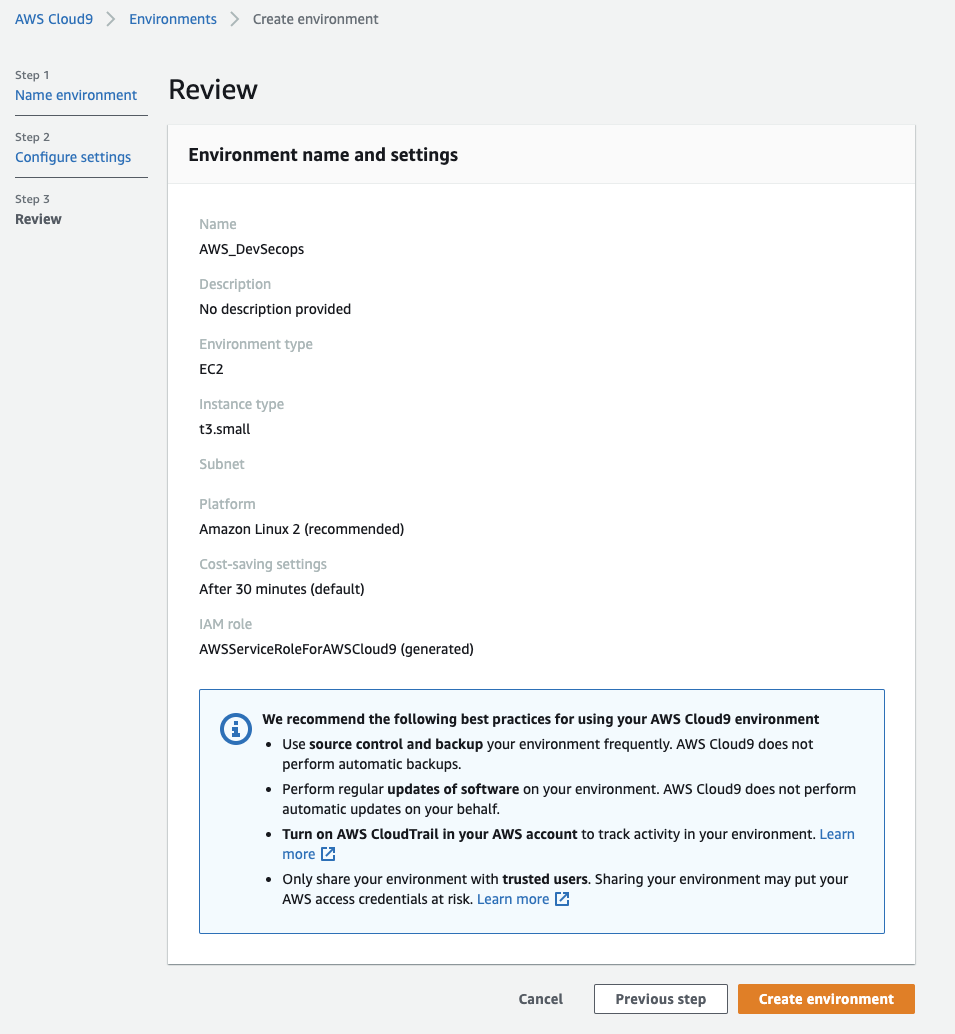
- Review the setup before submitting for creation
Make sure to choose Amazon Linux 2, the tools install and other commands have been set up for Amazon Linux Only.
- Wait for the Cloud9 instance to boot
- Increase disk size for your Cloud9 Instance
Increase the disk size of your instances, this will cause your instance to reboot
With the docker images and all the other information it would be helpful to have a larger working space.
sudo yum install -y jq
export AWS_DEFAULT_REGION=$(curl --silent http://169.254.169.254/latest/dynamic/instance-identity/document | jq -r .region)
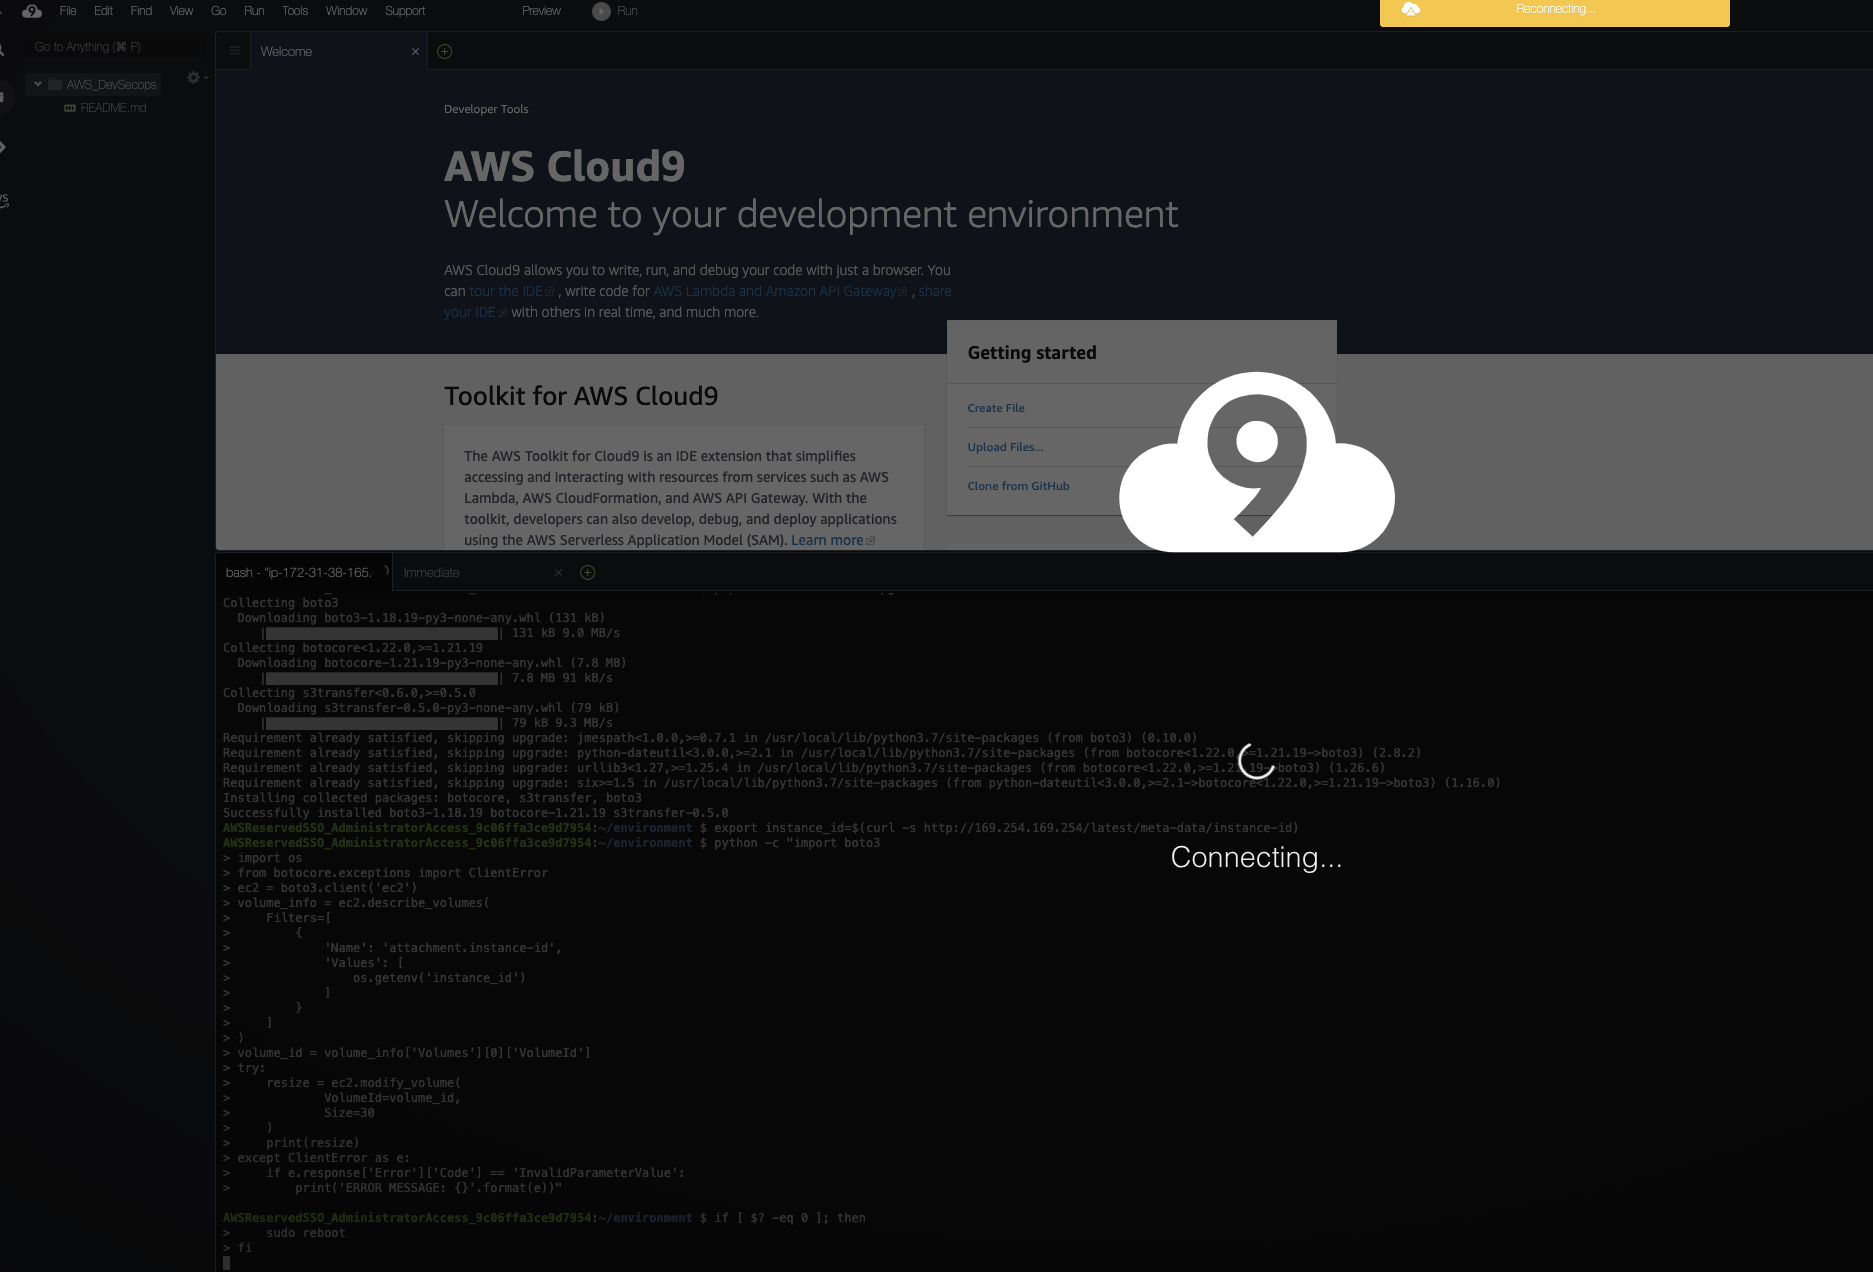
export instance_id=$(curl -s http://169.254.169.254/latest/meta-data/instance-id)
export vol_id=$(aws ec2 describe-instances --instance-id $instance_id --query 'Reservations[0].Instances[0].BlockDeviceMappings[0].Ebs.VolumeId' --output text)
aws ec2 modify-volume --size 100 --volume-id $vol_id
Now reboot your Cloud9 instance sudo reboot
Double check it was successful df -h
Filesystem      Size  Used Avail Use% Mounted on
devtmpfs        3.8G     0  3.8G   0% /dev
tmpfs           3.8G     0  3.8G   0% /dev/shm
tmpfs           3.8G  424K  3.8G   1% /run
tmpfs           3.8G     0  3.8G   0% /sys/fs/cgroup
/dev/nvme0n1p1  100G  8.2G   92G   9% /
tmpfs           768M     0  768M   0% /run/user/1000