Cloud 9 Settings Configuration
Create IAM Role
- Log into your AWS Account you are using for this workshop.
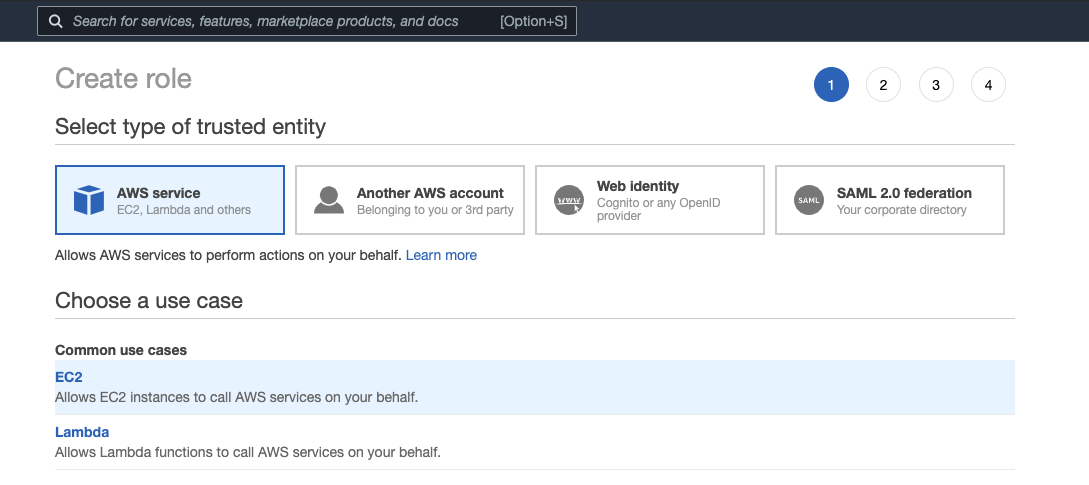
- Follow this link to create an IAM role with Administrator access.
- Confirm that AWS service and EC2 are selected, then click Next: Permissions to view permissions.
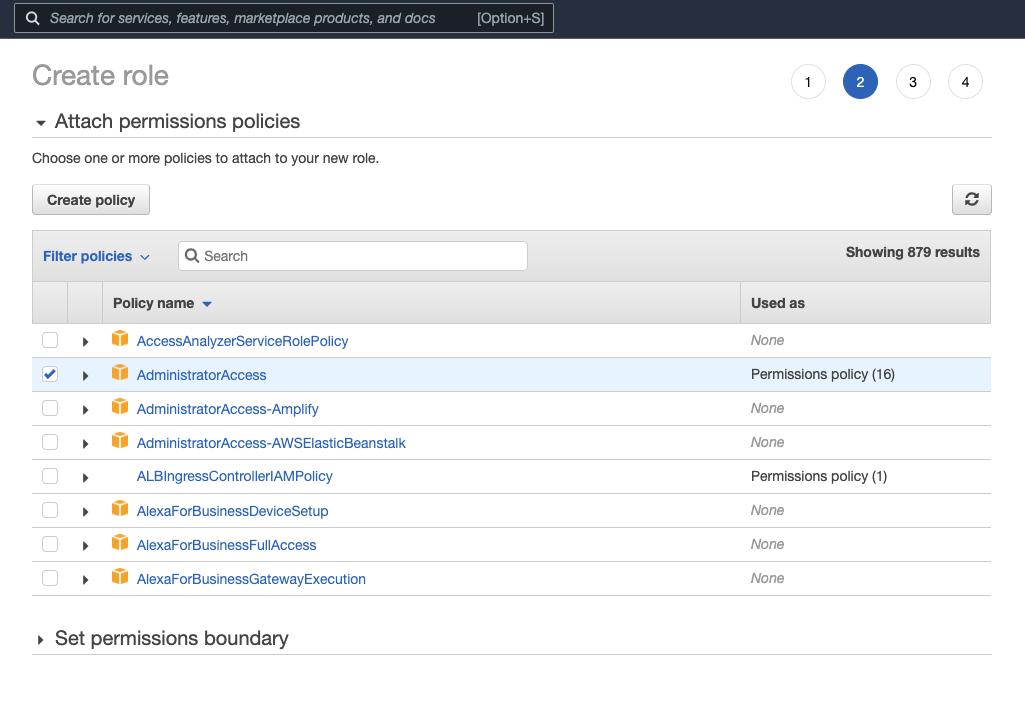
- Confirm that AdministratorAccess is checked, then click Next: Tags to assign tags.
- Take the defaults, and click Next: Review to review.
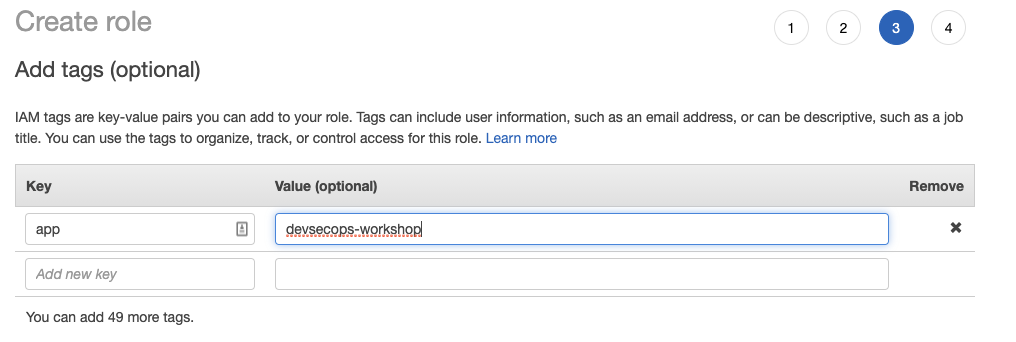
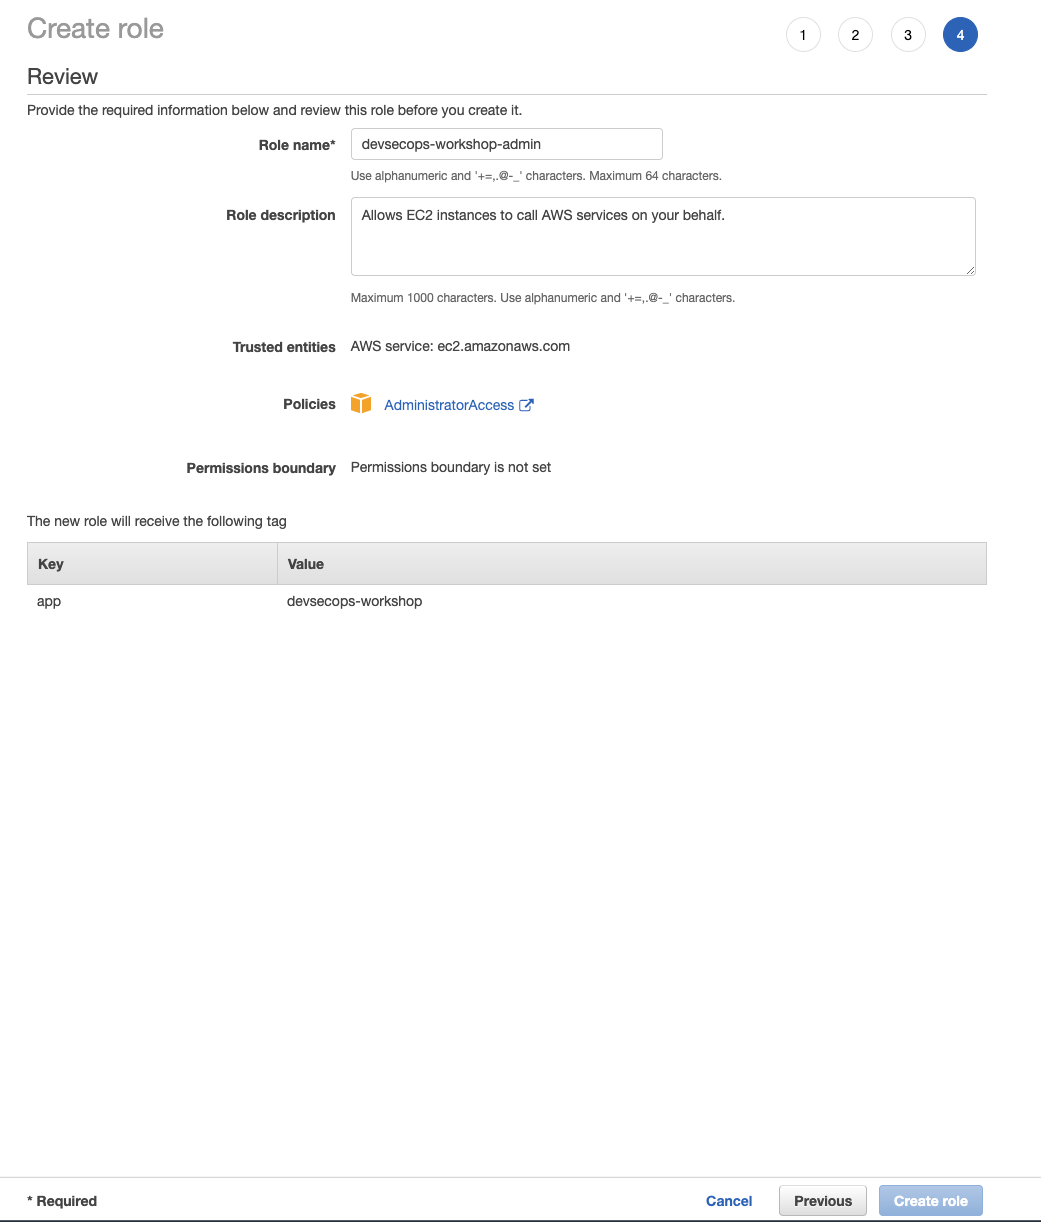
- Enter devsecops-workshop-admin for the Name, and click Create role.
Ensure that the name of the role is devsecops-workshop-admin
Attach IAM Role to your Cloud9 instance
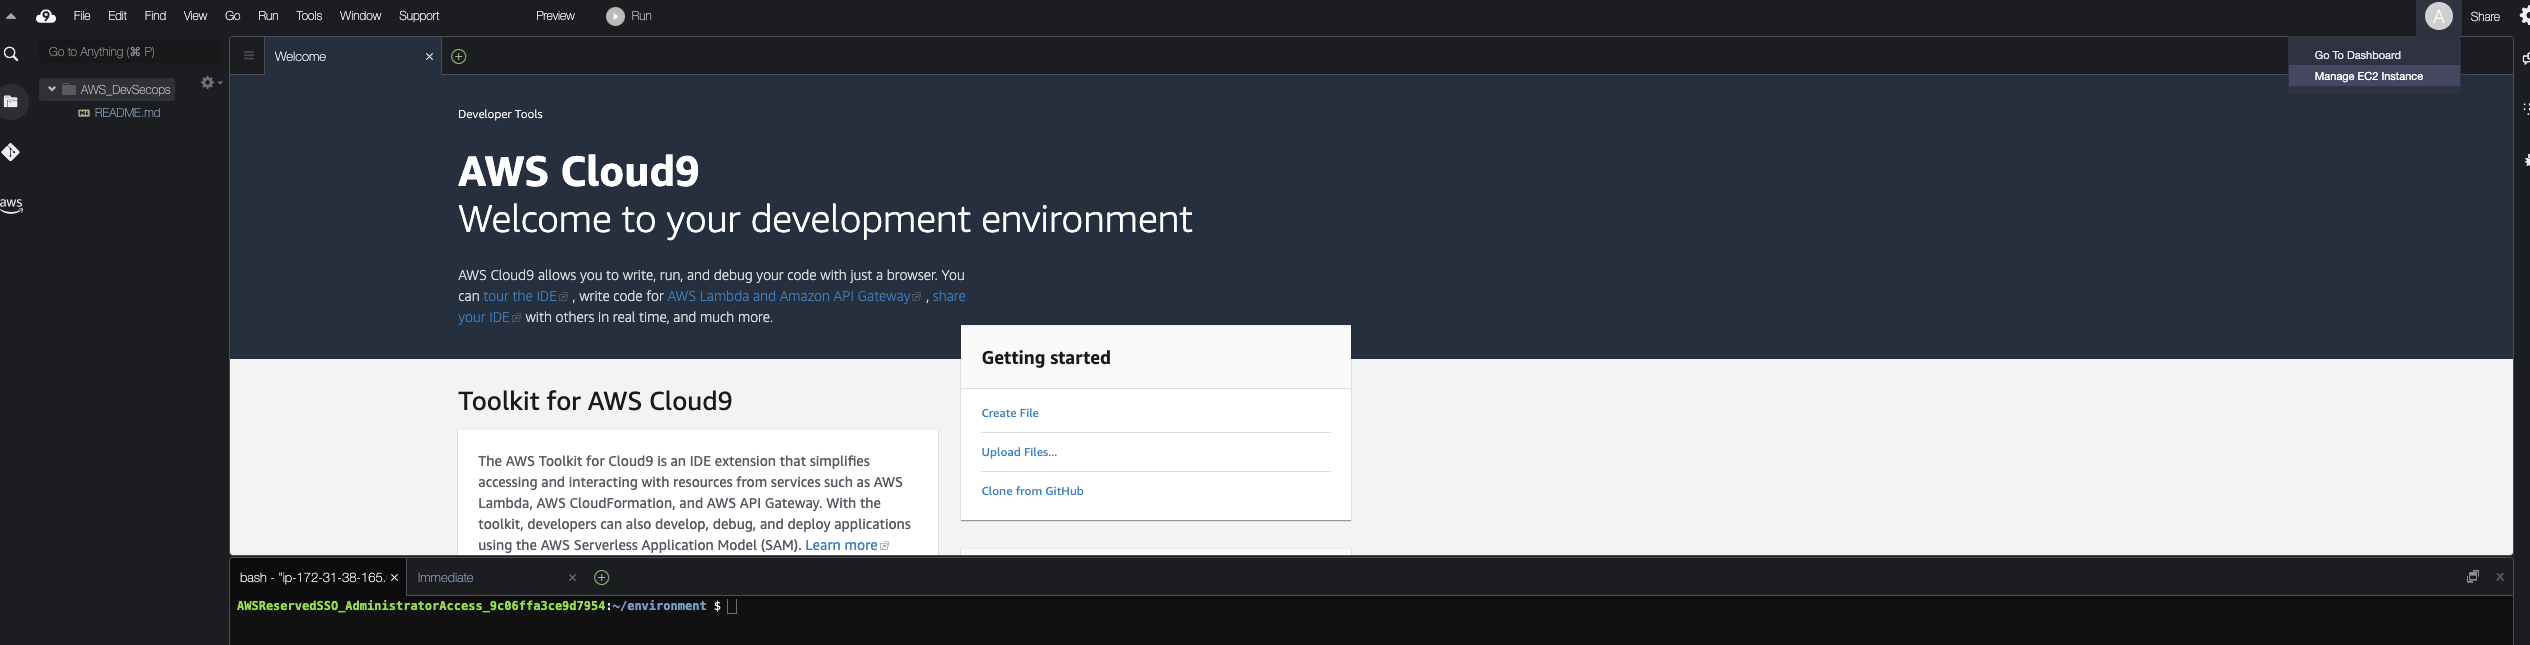
- Click the grey circle button (in top right corner) and select Manage EC2 Instance
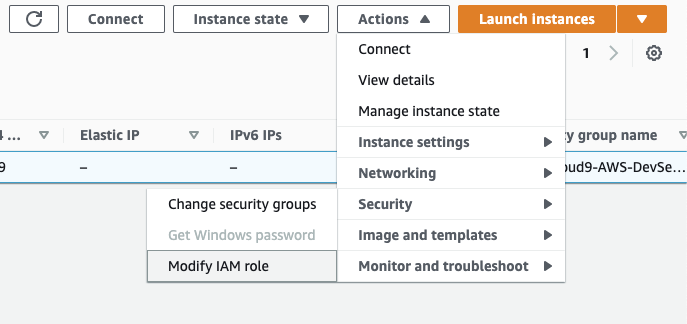
- Select the instance, then choose Actions / Security / Modify IAM Role
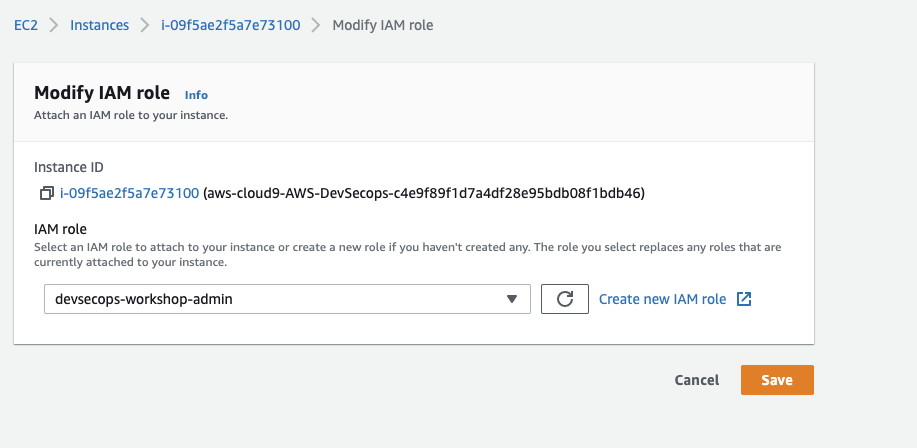
- Choose devsecops-workshop-admin from the IAM Role dropdown, and select Save
Update Cloud9 IAM Settings
Return to your Cloud9 workspace and click the gear icon (in top right corner)
- Open Project Settings
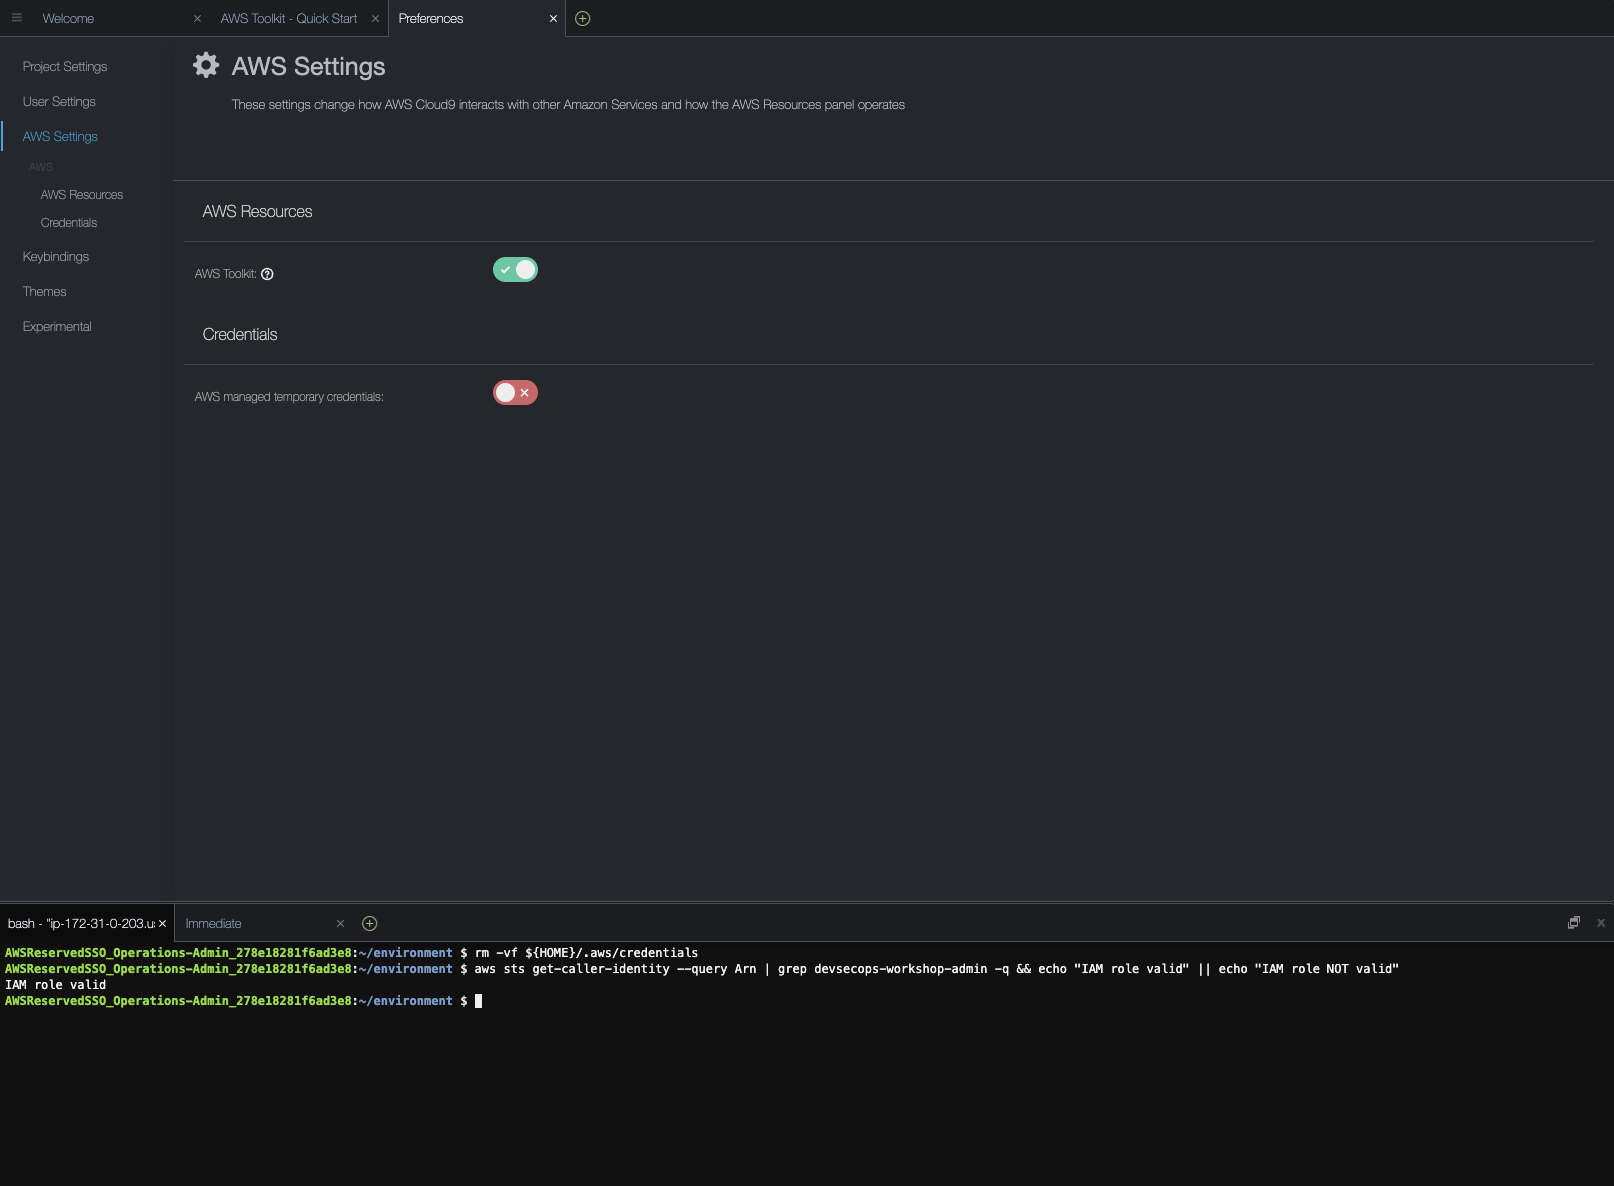
- Select AWS SETTINGS
- Turn off AWS managed temporary credentials
Let’s make sure we have the right settings with the AWS CLI.
To ensure temporary credentials aren’t already in place we will also remove any existing credentials file:
rm -vf ${HOME}/.aws/credentials
Use the GetCallerIdentity CLI command to validate that the Cloud9 IDE is using the correct IAM role.
aws sts get-caller-identity \
--query Arn | grep devsecops-workshop-admin -q \
&& echo "IAM role valid" || echo "IAM role NOT valid"
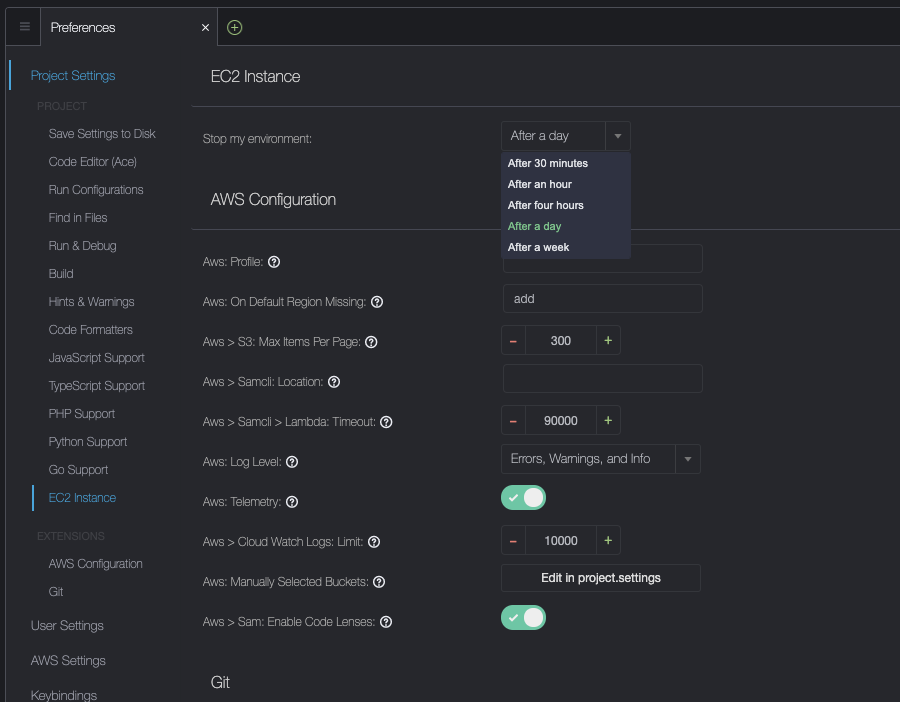
Change EC2 Instance Settings
- Open Project Settings
- Select EC2 Instance
- Change Stop my environment to a day.